How to control upload limits on Oxsico

On Oxsico, you can choose pricing plans focused on number of uploads. This plan works best on a fixed workload when there is a certain amount of documents your organisation must check within a month, quarter, year. It’s called ‘Pay per upload’. With this plan you have tons of flexibility to allow your employees, people in certain departments or branches of the organisation to distribute the workload evenly or unevenly. It is suitable for companies and institutions of all sizes.
The topic is also of interest for those organisations choosing ‘User based subscription’. So, let’s see how to control user upload limits on Oxsico. Let’s say a university has bought 500 uploads and wishes to distribute them between 5 lecturers evenly. What the administrator has to do in order to achieve this is:
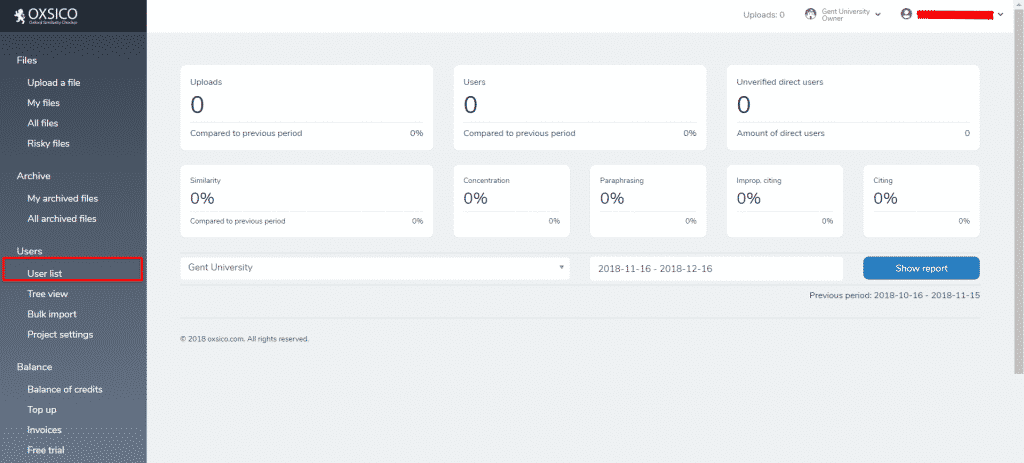
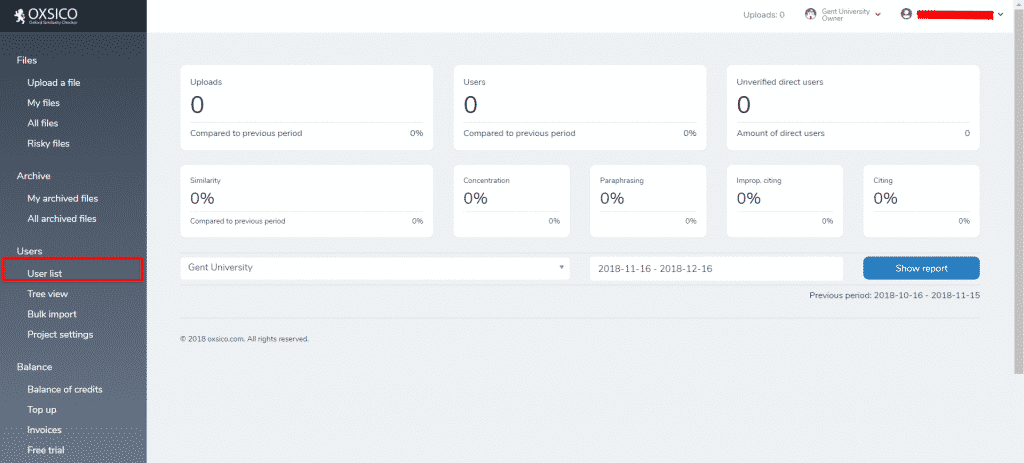
1) Select the ‘User list’ tab on the left-hand side menu
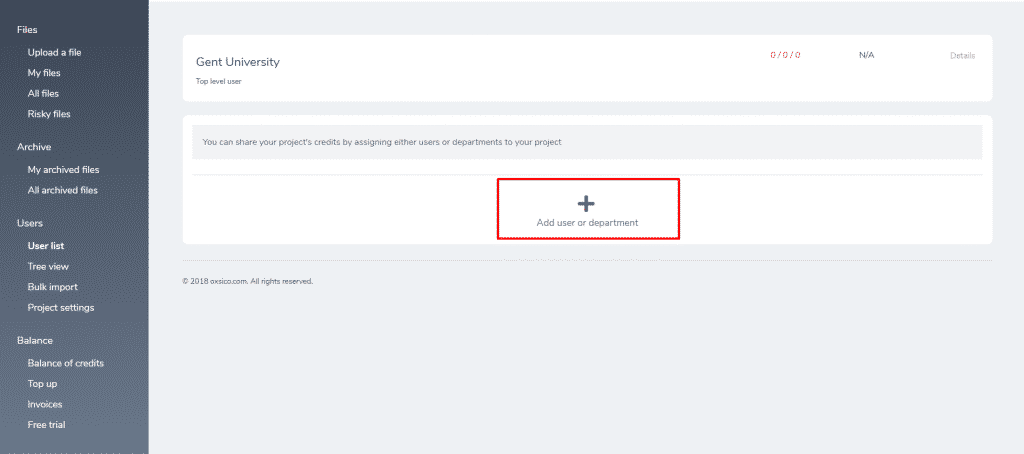
2) In the next screen, press the ‘Add user or department’ tab in the middle
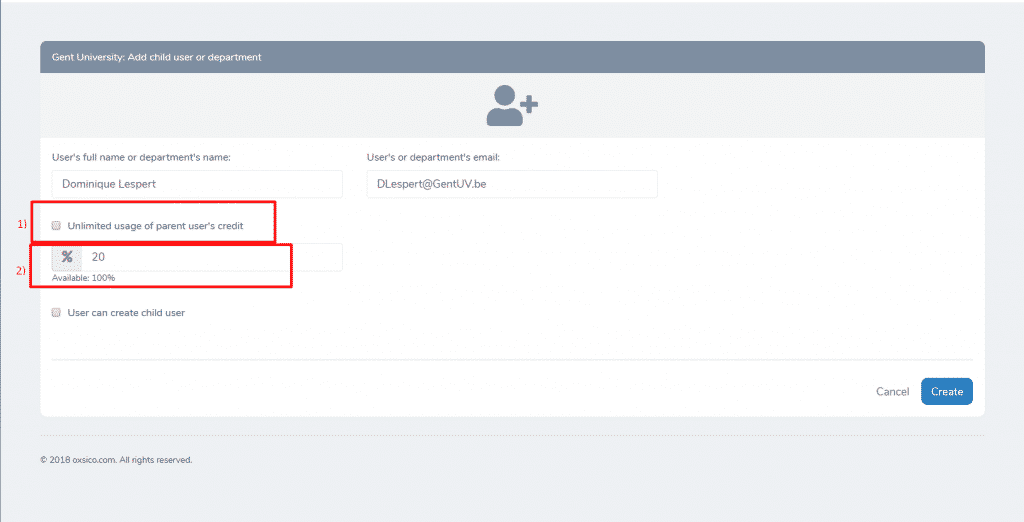
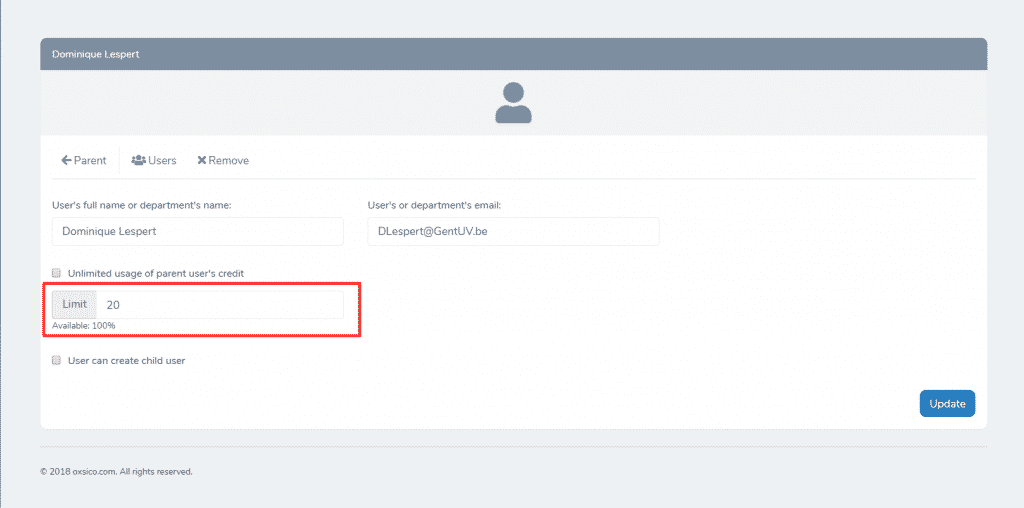
3) In the next tab, enter the details (Full name or name of the department as well as the email) of the future user.
- 1) MAKE SURE to uncheck the ‘Unlimited usage of parent user’s credit’ as it is checked by default.
- 2) Enter the amount (in percentage) of credit usage which you wish to grant for the user. In this example lecturer D.Lespert will be able to use 20 percent of the total credits the administator (parent account) has. If, for example Gent University has 2000 uploads, D.Lespert will be able to check for 20% of the total uploads or 400 documents.
At any given time, top or higher level users can change the upload limits to lower level or their child users. The administrator can decrease or increase upload limits with only a few clicks, no additional procedures needed.
1) Open the user list screen from the left-hand side menu

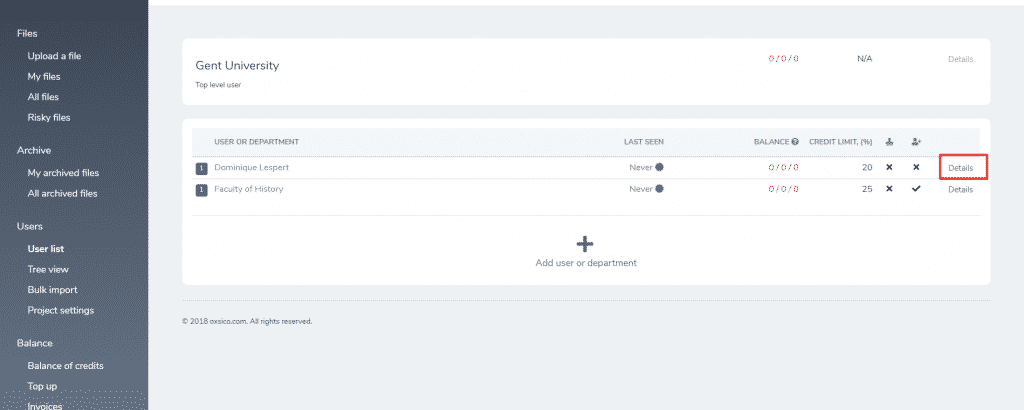
2) Press the highlighted text ‘Details’ near the user’s name which is going to get their upload limits changed
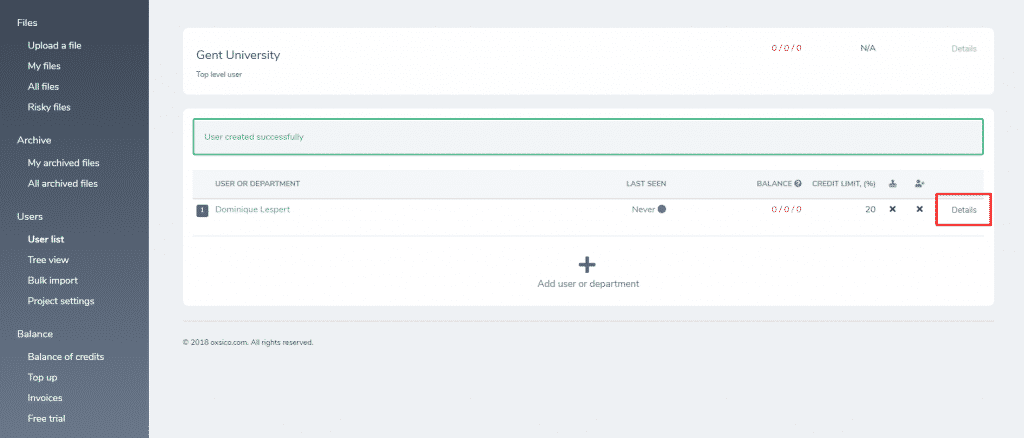
3) Enter a new proportion (in percentage) which you allow the user to have or check the ‘Unlimited usage of parent user’s credit’ to unlock unlimited use
Granting user rights to other users and managing them
Managing or granting user rights on Oxsico is relatively simple. A few clicks and any Administrator or project manager can grant, manage, change or remove user rights for others. This makes work for everyone just so much easier. Administrators can add new people to a team, change rights after a while or revoke them altogether. Let’s see how you can do just that.
1) Navigate to the ‘User list’ screen from the left-hand side menu
2) Select the user
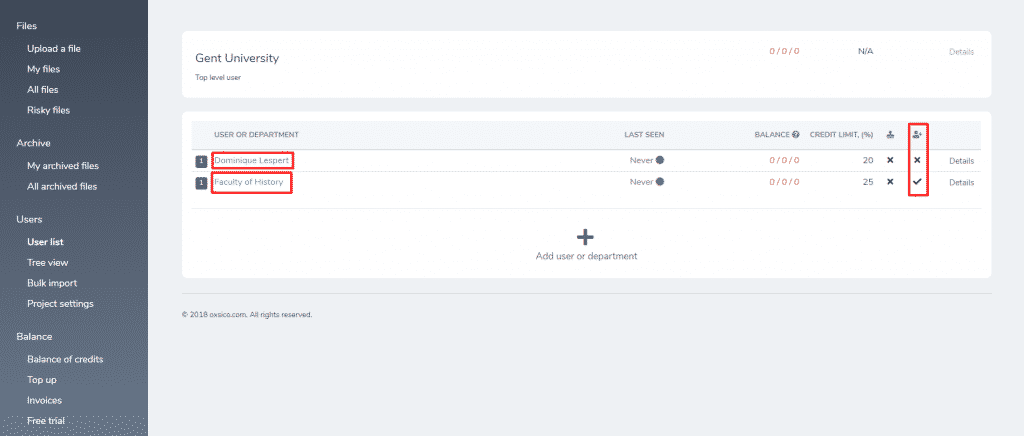
In this screen there are two more things worth mentioning. Here the administrator can clearly see the overview of any user’s activity as well as its rights. Here we see two users. Well, actually one user and one department.
We have a lecturer – Dominique Lespert and the Faculty of History as a department. The two users have two differences which the administrator can see. First – D.Lespert can use only up to 20 percent of the credit limit while Faculty of History is allowed to use 25 percent. The second difference is that the faculty can create child users and assign tasks for them while D.Lespert cannot. Let’s focus on this topic and grant the same rights for D.Lespert.
3) Select the ‘Details’ near the desired user
4) Check the box ‘User can create child user’ to grant such access
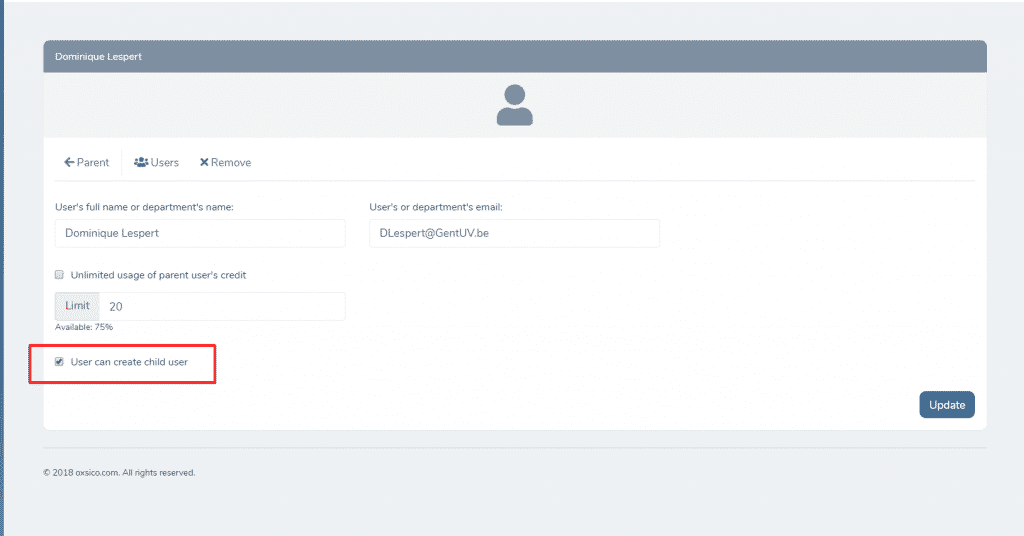
The procedure for removing rights is the same just the other way around. You press details near the user and just uncheck the same box.